
Attaching wood elements to brick surfaces can add warmth, texture, and character to any interior or exterior space. However, achieving a secure and long-lasting bond between these two materials presents some unique challenges. In this guide, we’ll explore the best techniques and products to help you successfully how to glue wood to brick without compromising the integrity of the surfaces.
Key Takeaways:
- Proper surface preparation and selecting suitable adhesives that provide a flexible bond are crucial.
- Consider polyurethane-based construction adhesives, epoxy resins, silicone adhesives, or polyurethane glues for different applications.
- Follow a 3-step process: surface preparation, adhesive application, and securing the bond during curing.
- For temporary installations, consider using brick clips, velcro strips, or heavy-duty mounting tape.
The Challenges of Gluing Wood to Brick
Brick is a porous and uneven material, making it difficult to form a strong adhesion with wood. Additionally, wood and brick have different rates of expansion and contraction, which can cause standard adhesives to fail over time. To overcome these obstacles, proper surface preparation and the selection of suitable adhesives that provide a flexible bond are crucial.
Understanding Adhesive Options for Gluing Wood to Brick
Different types of adhesives are available for bonding wood to brick, each with its unique properties and advantages. Here are some of the most popular options:
1. Construction Adhesives
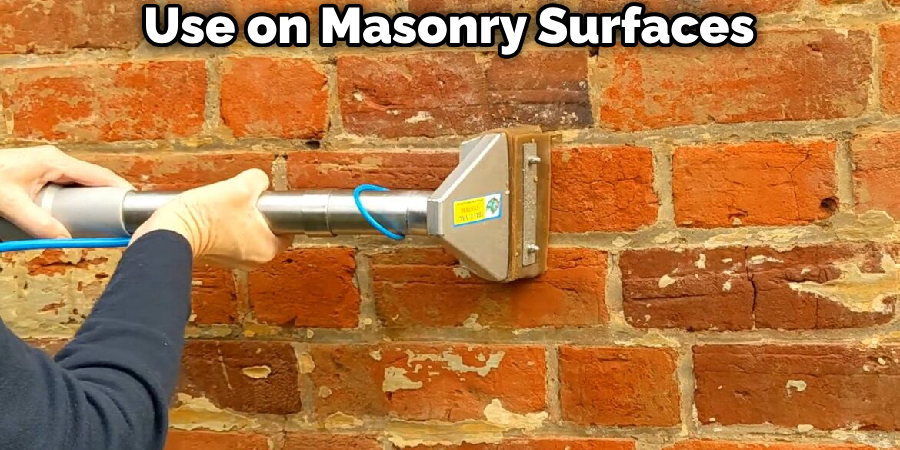
Construction adhesives, also known as panel adhesives, are designed to bond various materials, including wood and masonry. These adhesives offer a strong yet flexible bond, making them suitable for both indoor and outdoor applications. Look for products like Liquid Nails or Loctite PL Premium, which are specifically formulated for use on masonry surfaces.
2. Epoxy Resin
Epoxy resins provide an exceptionally strong and durable bond between wood and brick. These adhesives are ideal for permanent installations that need to withstand significant stress and weather changes. However, epoxy resins can be more challenging to work with due to their quick setting time and potential for leakage around edges. A reliable option in this category is PC-Products PC-Concrete Two-Part Epoxy Adhesive Paste, which is designed for anchoring and crack repair.
3. Silicone Adhesive
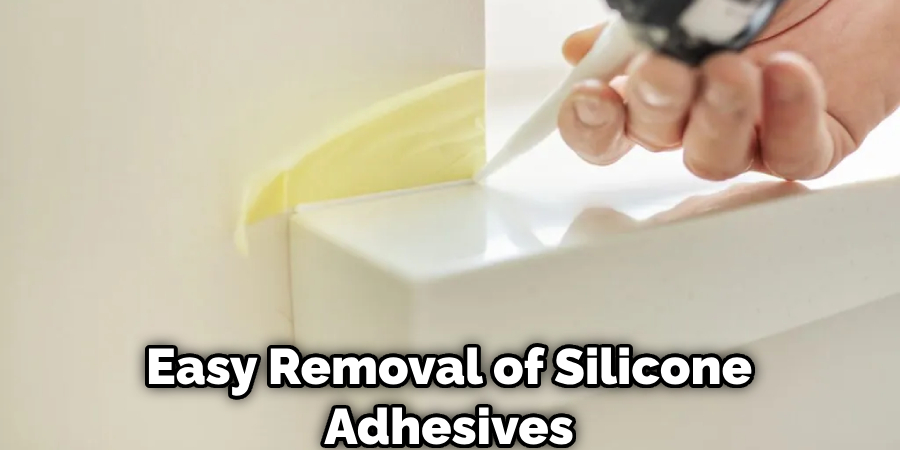
Silicone adhesives are known for their flexibility, heat resistance, and water resistance. They are well-suited for indoor applications and can be easily removed if necessary, making them an excellent choice for temporary or semi-permanent projects. A popular silicone adhesive for masonry surfaces is the Red Devil 0646 Masonry and Concrete Acrylic Sealant.
4. Polyurethane Glue
Polyurethane glues are versatile and can bond with multiple materials, including wood and brick. These adhesives are waterproof, making them a preferred option for outdoor installations. Additionally, polyurethane glues expand as they cure, filling gaps and providing better anchoring to the brick surface. One reliable polyurethane-based product is the SikaBond Construction Adhesive, which is designed for outdoor use.
When choosing an adhesive, consider the weight of the wood installation and whether it will be used indoors or outdoors. Heavier installations or those subject to outdoor conditions will require stronger and more durable adhesives, such as epoxy resins or polyurethane glues. Indoor applications may benefit from the flexibility and easy removal of silicone adhesives, especially for temporary or decorative purposes.
You Can Check It Out to Glue Mirror to Wood.
3 Actionable Steps for How to Glue Wood to Brick
Here are three steps to follow for how to glue wood to brick:
Step 1: Surface Preparation
Before applying any adhesive, it is essential to properly prepare both the wood and brick surfaces. This step is crucial for ensuring a strong and lasting bond.
For the brick surface, use a stiff-bristled brush and a solution of warm, soapy water to thoroughly clean the area. If you’re dealing with outdoor surfaces or stubborn grime, you can add a small amount of bleach or vinegar to the cleaning solution to help break down any residue. Rinse the area thoroughly and allow the brick to dry completely before proceeding.
As for the wood surface, lightly sand it to create a rougher texture, which will help the adhesive bond better. Remove any dust or debris from the wood before application.
Step 2: Adhesive Application
With the surfaces properly prepared, it’s time to apply the adhesive. Follow these steps for a successful application:
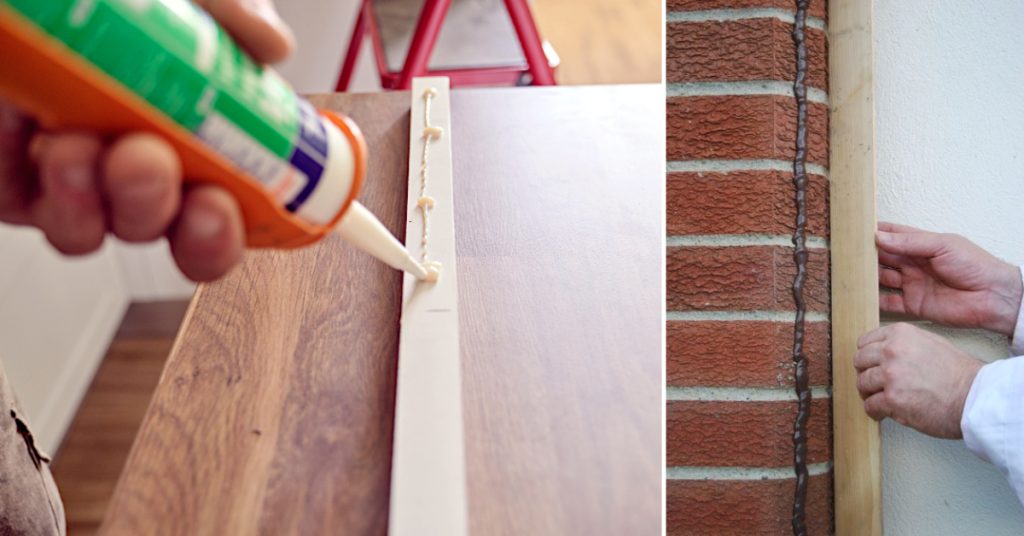
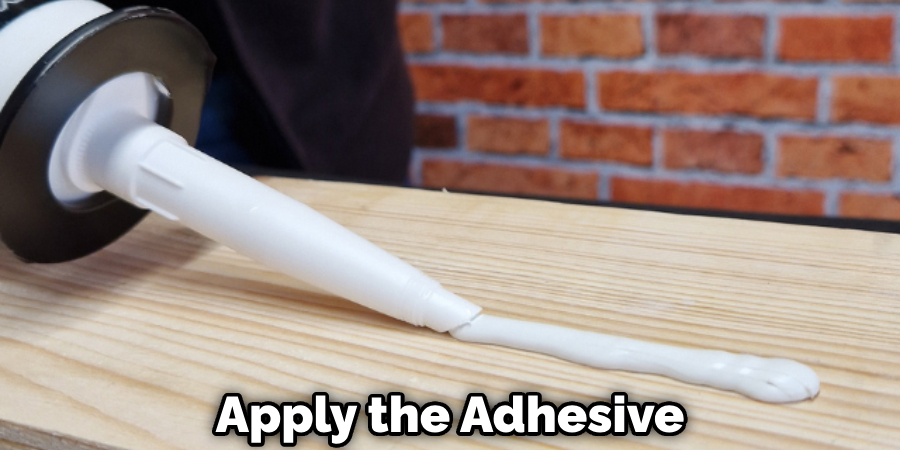
- Apply the adhesive directly to the wood surface, not the brick. Use a caulking gun or trowel to create evenly spaced beads or lines of adhesive across the wood.
- Avoid applying too much adhesive, as the excess can squeeze out and create a mess when the wood is pressed onto the brick.
- Firmly press the wood against the brick surface, ensuring even contact. Use a level to maintain proper alignment if necessary.
- Follow the manufacturer’s instructions for specific drying and curing times.
Remember, working with quick-setting adhesives like epoxy resins requires careful planning and a faster application process to prevent the adhesive from curing before you can secure the wood in place.
Step 3: Curing and Securing the Bond
Most adhesives require some time to fully cure and achieve their maximum bonding strength. During this curing period, it is essential to secure the wood in place to prevent it from moving or separating from the brick.
You can use temporary supports, such as clamps or nails, to hold the wood in position until the adhesive has fully cured. For heavier installations, consider using a combination of adhesives and mechanical fasteners, such as masonry screws or anchors, to provide additional support. If you plan to use mechanical fasteners, it’s advisable to drill pilot holes using a hammer drill and a masonry drill bit to ensure a secure and precise installation.
You Can Check It Out to Glue Wood to Acrylic.
Temporary vs. Permanent Bonding Solutions
If you plan to remove the wood from the brick wall in the future or want a more temporary solution, consider using brick clips, velcro strips, or heavy-duty mounting tape. These methods allow you to attach wood to brick without drilling and leave no permanent marks or residue on the brick surface.
Brick clips are designed to fit between the gaps in the brickwork and can hold up to 25 pounds, making them suitable for light to moderate installations. Brick velcro and mounting tape are also viable options, but they may leave some residue when removed.
For permanent installations, adhesives like epoxy resins, polyurethane glues, and construction adhesives are the way to go. In some cases, a combination of adhesives and mechanical fasteners may be necessary for added strength and stability, especially for heavier installations.
You Can Check It Out to Glue Wood to Fiberglass.
5 Tips and Tricks for How to Glue Wood to Brick
Here are some additional tips and tricks to help you achieve a secure and long-lasting bond between wood and brick:
- Pilot holes: If you plan to use mechanical fasteners, drill pilot holes first to ensure a precise and secure installation.
- Working time: Be mindful of the working time for quick-setting adhesives like epoxy resins. Once mixed, you’ll have a limited window to apply the adhesive and secure the wood before it starts to cure.
- Masking tape: Use masking tape along the edges of the wood to create clean lines and prevent adhesive from oozing onto the brick surface.
- Wood acclimation: Before installation, allow the wood to acclimate to the environment by exposing it to the air for a while. This will help prevent excessive moisture absorption or expansion after the wood is attached to the brick.
- Securing vertical installations: For vertical installations, use temporary supports or bracing to hold the wood in place while the adhesive cures.
By following these tips and techniques, you’ll increase your chances of achieving a secure and durable bond between wood and brick.
You Can Check It Out to Get Wood Glue Off Clothes.
FAQs About How to Glue Wood to Brick
What is the Best Glue to Stick Wood to Brick?
When attaching wood to brick, consider using a polyurethane-based construction adhesive for a strong and weather-resistant bond, an epoxy resin for exceptional strength, or a PVA wood glue for lighter-duty indoor applications. Ensure that the surfaces are clean, follow the adhesive’s instructions, and consider using mechanical fasteners for added reinforcement. Always test the adhesive on a small area first.
What Kind of Glue Works on Brick?
When it comes to gluing materials to brick, using a polyurethane-based construction adhesive, an epoxy resin, or a polyvinyl acetate (PVA) wood glue are effective option. These adhesives are known for their strong bonding capabilities and can be suitable for various indoor and outdoor applications. Always ensure that the surfaces are clean and follow the manufacturer’s instructions for the specific adhesive being used.
Will Gorilla Glue Stick Wood to Brick?
Yes, Gorilla Glue, specifically the Gorilla Construction Adhesive, is designed to bond a variety of materials including wood to brick. It is a polyurethane-based adhesive that provides a strong and durable bond, making it suitable for this application. When using Gorilla Glue or any adhesive, it’s important to follow the manufacturer’s instructions for the best results.
Conclusion
Gluing wood to brick can be a rewarding and cost-effective way to enhance the aesthetic appeal of your living spaces. By selecting the appropriate adhesive, properly preparing the surfaces, following the correct application and curing procedures, and considering the specific requirements of how to glue wood to brick, you can create a strong and lasting bond that withstands the test of time. Remember, assessing the weight, durability needs, and indoor/outdoor conditions of your installation will help you make the best choices for a successful outcome.