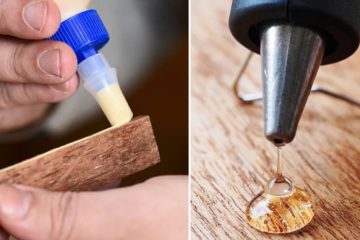
In the captivating world of 3D Printing, the ability to seamlessly unite printed components is a game-changer. Whether you’re assembling an imposing structure too colossal for a single print or resurrecting a failed masterpiece, mastering the art of gluing 3D prints is pivotal. Buckle up as we embark on an immersive journey through the best methods, techniques, and adhesives for how to glue 3D prints crafted from various filaments, including the ever-popular PLA, the resilient ABS, and the versatile PETG.
Key Takeaways:
- Choose the right adhesive for your filament type (PLA, ABS, PETG)
- Proper surface preparation is crucial for strong bonds
- Master techniques like cyanoacrylates, epoxy resins, solvent welding
- Consider advanced methods like urethane adhesives, friction welding
- Prioritize safety when working with adhesives and solvents
Understanding 3D Printing Filaments and Adhesive Compatibility
Here are some of the most common 3D printing filaments and adhesives:
1. PLA (Polylactic Acid)
Ah, PLA—the eco-friendly darling of 3D Printing. With its ease of use and biodegradable nature, it’s no wonder this filament has captured the hearts of countless enthusiasts. When it comes to gluing PLA prints, cyanoacrylates (a.k.a. super glues) reign supreme, forming bonds stronger than a bear’s hug.
Epoxy resins, like the trusty Weld-On 16 and Bob Smith Industries’ Quik-Cure Epoxy, offer exceptional bonding prowess and flexibility, making them ideal for high-stress applications or when you need a little wiggle room. And let’s not forget the mighty urethane glues, striking the perfect balance between strength and pliability – a true hero for projects that require some movement or vibration dampening.
2. ABS (Acrylonitrile Butadiene Styrene)
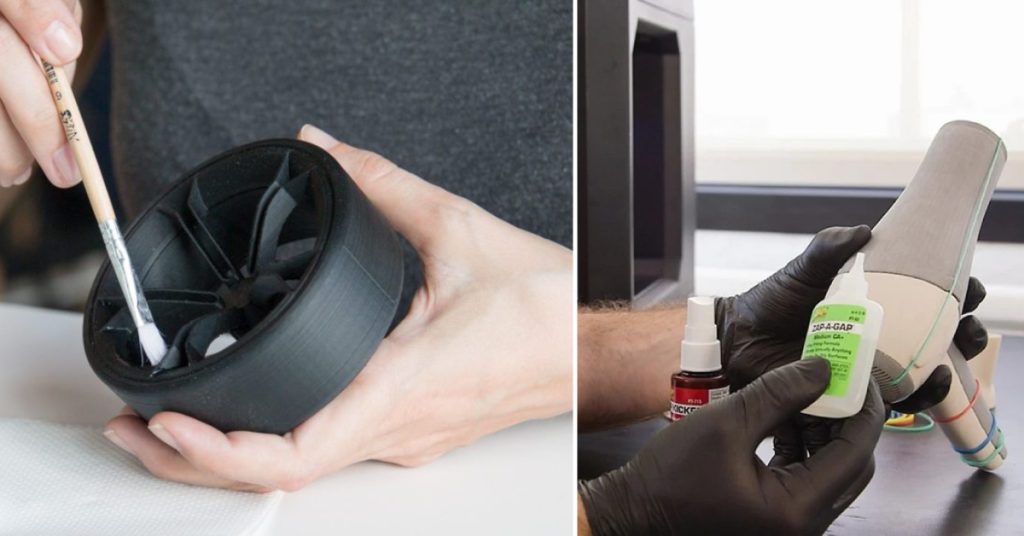
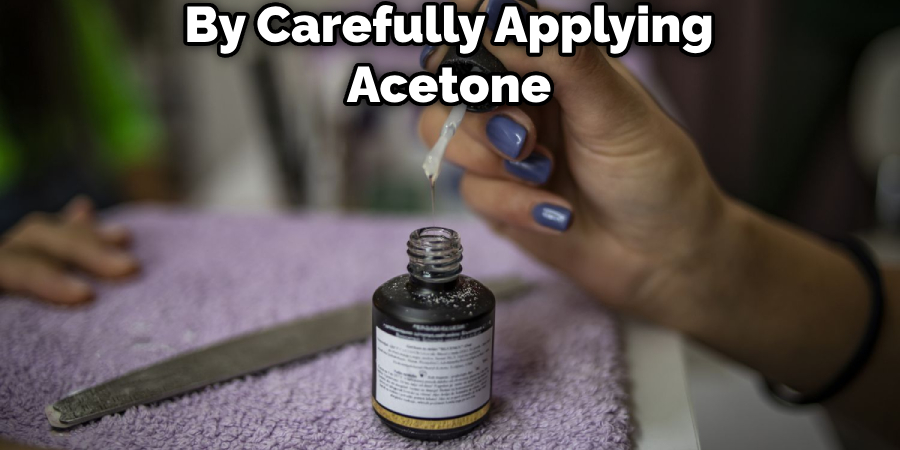
Renowned for its durability and heat resistance, ABS filament is the backbone of many 3D printing endeavors. When gluing ABS prints, the art of solvent welding with acetone takes center stage, allowing you to create seamless, robust bonds that would make a sculptor swoon.
By carefully applying acetone (a.k.a. nail polish remover) to the surfaces, you’ll witness a chemical metamorphosis as the ABS melts, fusing the parts upon contact. The result? An invisible, monolithic bond that’ll have you questioning whether it was ever two separate pieces.
If you prefer a more traditional approach, ABS plumber’s cement, a solvent-based putty, is a worthy ally. It delivers exceptional bonding strength and resilience against environmental factors.
3. PETG (Polyethylene Terephthalate Glycol)
Durable and chemically resistant, PETG filament is the Swiss Army knife of 3D Printing, tackling many applications with gusto. When gluing PETG prints, a harmonious symphony of adhesives and techniques can be employed.
From the trusty cyanoacrylates (super glues) delivering solid bonds to epoxy resins like the Unibond Repair Epoxy Plastic, offering superior bonding might and gap-filling capabilities, ideal for larger-scale projects or intricate repairs. And let’s remember the flexibility and environmental resilience brought by silicone-based adhesives, perfect for projects that demand a little give.
Surface Preparation: The Foundation for Strong Bonds
Regardless of the adhesive or filament type, proper surface preparation is the bedrock upon which solid and lasting bonds are built. Follow these steps to pave the way for optimal bonding:
- Sanding: Like a seasoned sculptor, lightly sand the surfaces to be bonded using fine-grit sandpaper. This roughening process enhances adhesion, creating a perfect canvas for your adhesive masterpiece.
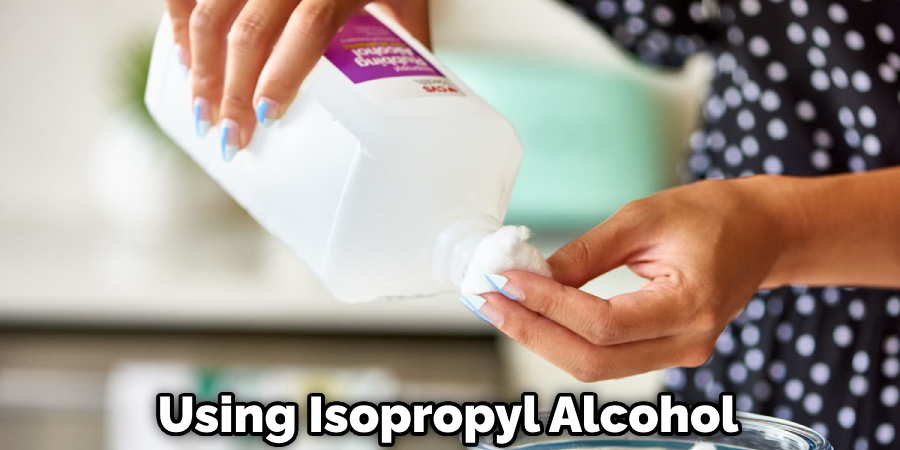
- Cleaning: With the precision of a surgeon, thoroughly clean the sanded surfaces using isopropyl alcohol or a degreasing agent, banishing any contaminants or debris that might hinder the bonding process.
- Dry-fitting: Akin to a dress rehearsal, dry-fit the parts to ensure proper alignment before the adhesive takes center stage, minimizing the risk of unwanted surprises.
5 Authoritative Techniques for How to Glue 3D Prints
Here is a comprehensive how to glue 3D prints:
Technique 1: Cyanoacrylates (Super Glues)
Quick, robust, and reliable – these are the hallmarks of cyanoacrylates, or as they’re affectionately known, super glues. When applying these adhesives, precision is critical. Utilize tools like toothpicks, syringes, or precision applicators to create clean, thin layers, minimizing excess material while maximizing bonding potential.
Remember, these glues cure rapidly, so careful alignment is crucial before they set like concrete. Once the parts are positioned, hold them firmly together for a minute or two, allowing the bond to solidify before celebrating your masterpiece.
Technique 2: Epoxy Resins
Epoxy resins are the versatile virtuosos of the adhesive world, offering a harmonious blend of strength and flexibility. However, like any excellent performance, preparation is critical. Follow the mixing ratios and pot times (the window of workability) diligently, ensuring a flawless composition.
When applying, strive for clean, precise layers, minimizing excess material that could detract from your final piece. Once the Epoxy has been carefully applied, clamp or secure the parts together during the curing process, allowing the bond to set without interruption.
Technique 3: Solvent Welding (Acetone for ABS, Specific for PLA)
Solvent welding with acetone is a true art form for ABS prints. With careful application and control over the solvent amount, bonds can be achieved so seamlessly that onlookers will question whether the pieces were ever separate.
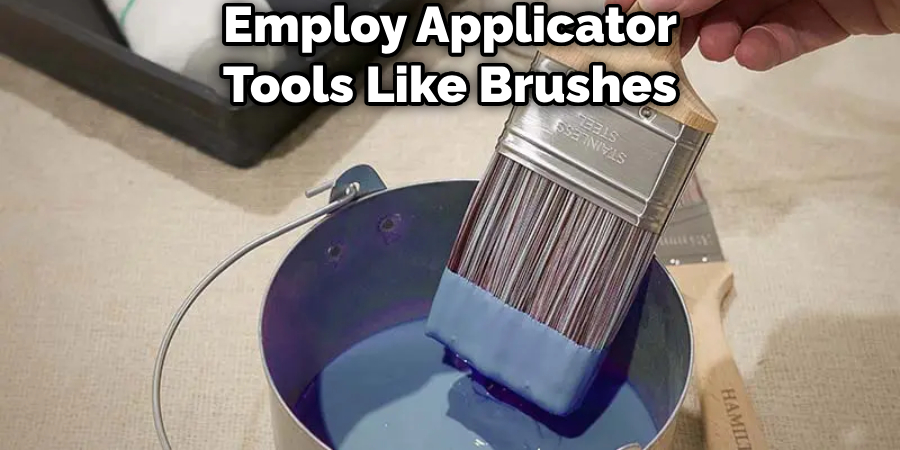
Employ applicator tools like brushes or cloths to meticulously apply the acetone, melting the surface layers of ABS and allowing them to fuse upon contact. As the parts merge, secure them together, letting the chemical reaction work its magic as the solvent evaporates, leaving behind a monolithic, robust bond.
Safety note: When working with solvents like acetone, ensure proper ventilation and wear appropriate personal protective equipment (PPE).
Technique 4: Urethane and Silicone Adhesives
Flexibility and gap-filling prowess are the calling cards of urethane and silicone adhesives, making them invaluable allies for projects that demand a little give or require filling in those pesky voids.
While working times and curing conditions may vary, these adhesives offer a tantalizing combination of strength and pliability, ensuring your bonded 3D prints can withstand the rigors of everyday use while retaining a touch of flexibility.
Technique 5: Other Options
In the ever-evolving landscape of 3D Printing, innovation knows no bounds. For those seeking alternative approaches, consider the humble hot glue gun – a quick, affordable option that allows you to use color-matched PLA filaments for near-invisible bonds.
Or, perhaps, the allure of 3D pens captivates you, offering the ability to essentially “weld” matching filament for seamless seams that would make a master craftsman jealous. For the truly adventurous, friction welding with rotary tools might be the thrill you seek, melding parts together through sheer mechanical force.
Post-Processing and Finishing
The bonding process is complete, but your journey continues. It’s time to add the finishing touches that will elevate your creation to new heights.
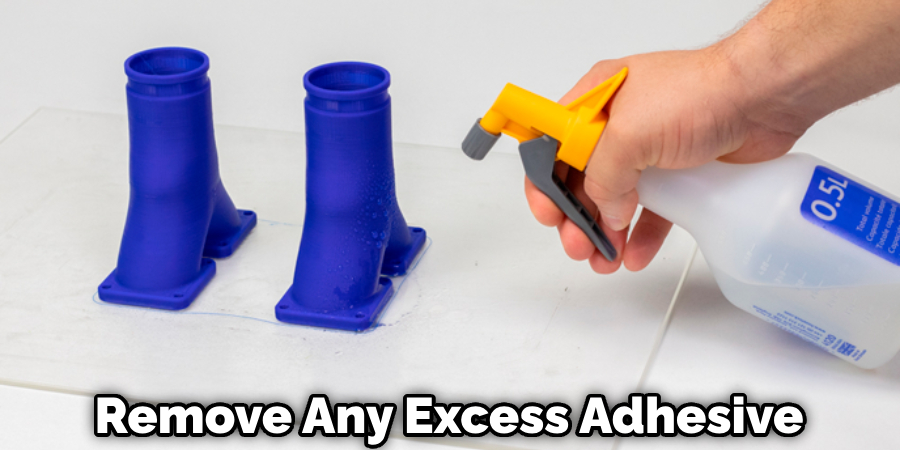
Carefully remove any excess adhesive, wielding tools like sharp utility knives or sandpaper with the precision of a surgeon. Then, smooth and refine the joined surfaces, sanding and painting them to perfection, ensuring a flawless, seamless finish that will leave onlookers in awe.
For added strength and resilience, consider reinforcing critical joints with mechanical fasteners. This will create a harmonious marriage of adhesive and hardware that will withstand the tests of time.
Safety Considerations
While the art of gluing 3D prints can be enriching, it’s crucial to prioritize safety throughout the process. Many adhesives and solvents can be hazardous if not handled with care.
Always work in a well-ventilated area, donning the appropriate personal protective equipment (PPE) like gloves, respirators, and eye protection. Follow the manufacturer’s safety guidelines to the letter, treating these materials with the respect they deserve.
After all, a true master never compromises their well-being in the pursuit of their craft.
Advanced Tips and Tricks for How to Glue 3D Prints
For those seeking to push the boundaries of 3D print bonding, a world of advanced techniques and creative applications awaits.
Don’t be afraid to combine multiple methods for intricate assemblies, creating a symphony of adhesives and techniques that cater to your project’s unique demands. Seek wisdom from the masters—3D print service bureaus, prop makers, and seasoned enthusiasts—and learn the protips that will elevate your creations to new heights.
Explore the boundless possibilities of bonding 3D prints. Whether you’re crafting awe-inspiring cosplay armor, meticulously assembling intricate scale models, or breathing life into fantastical movie props, the possibilities are endless when you unleash the full potential of bonding 3D prints.
A Tale of Triumph: The Colossal Dragon Sculpture
Imagine, if you will, the epic tale of a 3D printing enthusiast determined to bring a towering, colossal dragon sculpture to life. With a build volume too small to print the beast in a single piece, they turned to the art of gluing 3D prints.
Employing a harmonious blend of solvent welding for the ABS body, epoxy resins for the sturdy yet flexible wings, and cyanoacrylates for the intricate detailing, they crafted a masterpiece that defied the limitations of their printer.
As the final touches were applied, the sculptor stepped back, their eyes gleaming with pride at the monumental creation before them – a true testament to the power of mastering 3D print bonding.
FAQs About How to Glue 3D Prints
What Glue to Use on 3D Prints?
When bonding 3D prints, the choice of Glue depends on the material. Cyanoacrylate (Super Glue) and Epoxy offer quick and durable bonds for PLA and Nylon. ABS parts can be fused with Acetone or Epoxy for a strong connection. PETG and TPU benefit from Epoxy and flexible adhesives like E6000 or Gorilla Glue, respectively. Regardless of material, ensure surfaces are clean and possibly roughened for better adhesion. Always test your adhesive on a small area first and work in a well-ventilated space for safety.
What Kind of Glue Stick for 3D Printing?
In 3D Printing, PVA (Polyvinyl Acetate) glue sticks, such as Elmer’s washable school glue sticks, are widely used to enhance bed adhesion and prevent warping, especially suitable for materials like PLA, ABS, and PETG. They offer an easy-to-apply, water-soluble solution that improves the first layer’s stickiness to the print bed across a broad range of filament types. For optimal results, apply a thin, even layer on a clean bed in the area where the print will occur, ensuring improved adhesion with ease of post-print cleanup.
Is Super Glue CA Glue?
Yes, Super Glue is a type of CA (Cyanoacrylate) glue. Cyanoacrylate adhesives are fast-acting, strong bonding glues that work well with a variety of materials, including plastics, metal, wood, and ceramics. Super Glue is a brand name that has become synonymous with this type of adhesive due to its widespread popularity and effectiveness for quick repairs and bonding tasks.
Can You Use Superglue on PLA?
Yes, you can use Super Glue (Cyanoacrylate adhesive) on PLA (Polylactic Acid) 3D prints. It’s one of the most recommended types of Glue for bonding PLA parts because it quickly creates a strong bond. Super Glue works well for minor repairs or for joining parts of a PLA model. Just ensure the surfaces to be bonded are clean and dry for the best adhesion.
Conclusion
In the captivating realm of 3D Printing, the ability to seamlessly unite components is a skill that separates the novice from the master. By understanding the nuances of filament properties, selecting the appropriate adhesives, and meticulously executing surface preparation and application techniques, you possess the power to create projects of unprecedented scale, complexity, and durability.
Remember, the journey toward mastery is paved with patience, perseverance, and an unwavering commitment to safety. Embrace the challenges, seek guidance from those who have walked the path before you, and never cease exploring the boundless possibilities that await.
In the world of 3D Printing, the only limits are those we impose upon ourselves. So, go forth, embrace the art of gluing 3D prints, and let your creativity soar to heights once thought unimaginable.