Crafting with felt can truly delight, but locating the optimal adhesive presents a hurdle. In this thorough walkthrough, we’ll explore top-tier techniques and adhesives for how to glue felt together, ensuring your projects radiate perfection every single time.
Key Takeaways:
- Tacky glue, low-temp hot glue, fabric glue, and permanent adhesives are suitable options for felt
- Consider project type, felt material, age group, drying time, and odor when selecting adhesive
- Proper surface preparation, adhesive application, bonding, drying, and cleanup are crucial steps
Grasping Felt’s Essence
Before diving into adhesive selections, comprehending felt’s innate nature is crucial. Felt constitutes a non-woven fabric crafted from interwoven fibers, which could originate from natural sources like wool or synthetic materials such as polyester or acrylic. Its distinctive construction renders locating an adhesive capable of adequately penetrating and adhering felt pieces, sans leaving residue or stiffening the material, a formidable challenge.
Adhesive Varieties for Bonding Felt
Numerous adhesive options exist for gluing felt together, each boasting its own merits and drawbacks. Let’s investigate the most popular choices:
1. Tacky Glue
Tacky glue, exemplified by Aleene’s Tacky Glue, stands as a favored selection for bonding felt to felt. This thick, non-toxic adhesive dries transparently and maintains flexibility, making it an excellent fit for felt projects demanding some mobility or stretching. However, tacky glue can mandate a more extended drying time, necessitating patience.
Pros:
- Non-toxic and kid-friendly
- Dries clear and flexible
- Establishes a sturdy bond for felt-to-felt applications
Cons:
- Lengthier drying time
- Can create messes if excessively applied
2. Hot Glue
Hot glue guns frequently serve as a go-to tool for numerous crafters and can prove effective for working on felt as well. The advantage of hot glue lies in its rapid drying time and ability to adhere uneven surfaces. However, utilizing a low-temperature glue gun is crucial to prevent melting or damaging the felt fibers.
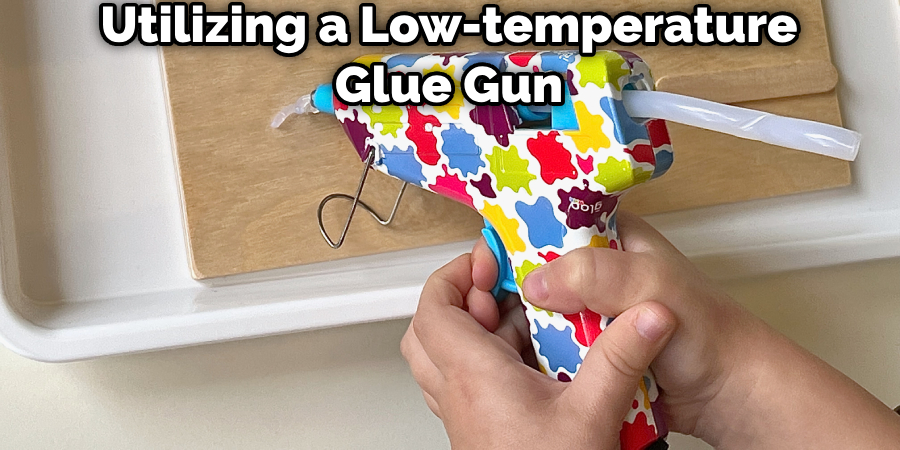
Pros:
- Swift drying time
- Bonds uneven surfaces adeptly
- Versatile for various craft endeavors
Cons:
- Unsuitable for delicate or thin felt
- Becomes rigid upon drying
- Not kid-friendly due to high temperatures
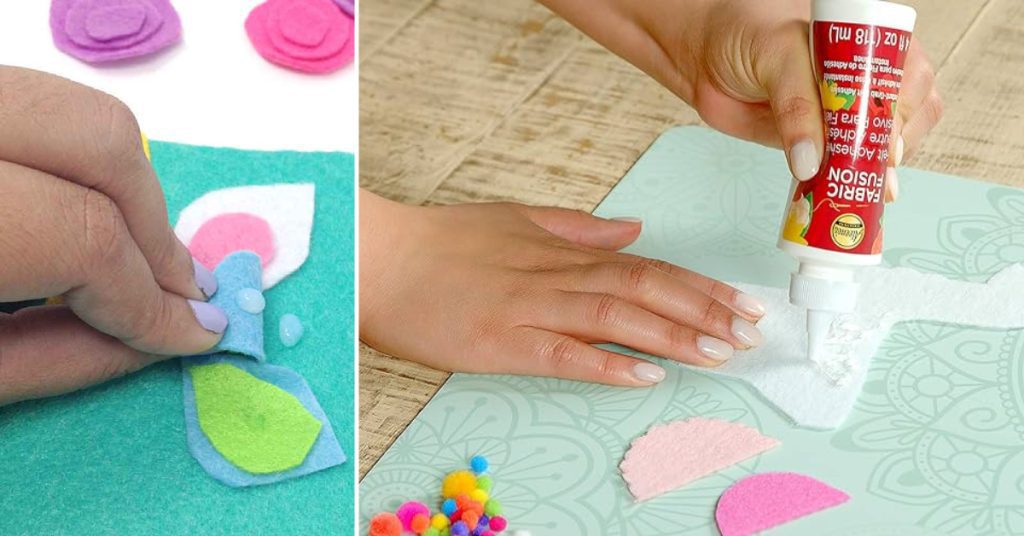
3. Fabric Glue
Fabric adhesives, such as Aleene’s Fabric Fusion or Beacon Fabri-Tac, are specially formulated for bonding fabrics like felt. These adhesives are engineered to be flexible, durable, and frequently waterproof, rendering them an exceptional choice for felt projects that may endure regular wear and tear.
Pros:
- Designed for fabric-to-fabric bonding
- Flexible and durable bond
- Often waterproof or water-resistant
Cons:
- Can create messes if excessively applied
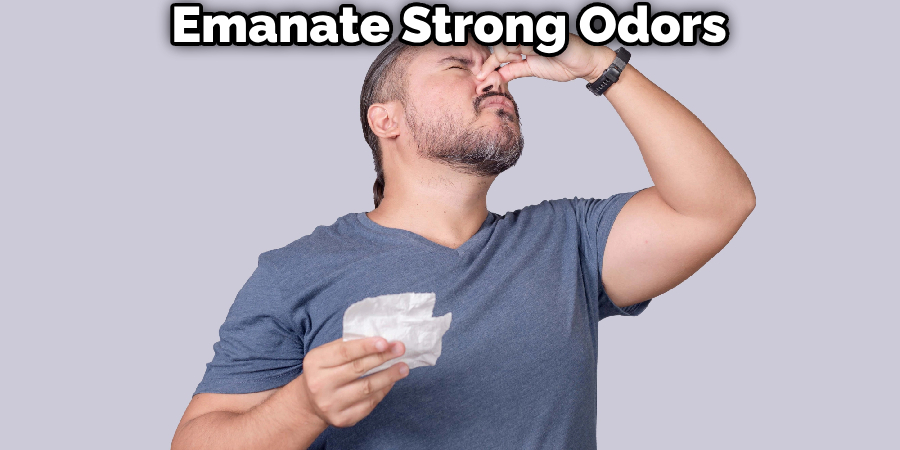
- May emit a potent odor (proper ventilation is advised)
- Not suitable for all felt varieties (test on a small area first)
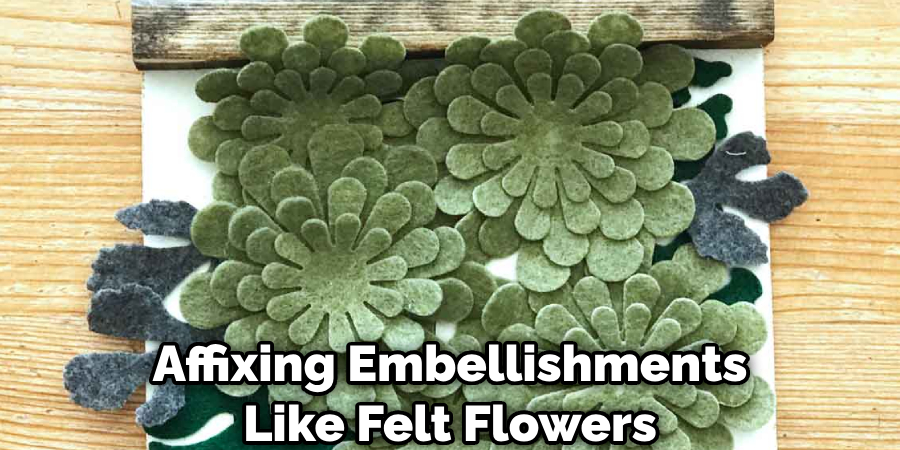
4. Permanent Adhesives (E6000, Super Glue)
For heavy-duty felt projects or when affixing embellishments like felt flowers or decorative elements, permanent adhesives like E6000 or super glue can be effective. These adhesives forge an incredibly sturdy bond capable of withstanding extreme temperatures and intense use.
Pros:
- Extremely strong and durable bond
- Suitable for attaching embellishments or decorative elements
Cons:
- Can prove challenging to work with and may demand precision
- Strong odor and proper ventilation is necessary
- Not suitable for delicate or thin felt (may bleed through)
You Can Check It Out to What is the Best Glue for Felt.
Selecting the Appropriate
Adhesive When choosing the suitable adhesive for your felt craft project, consider the following factors:
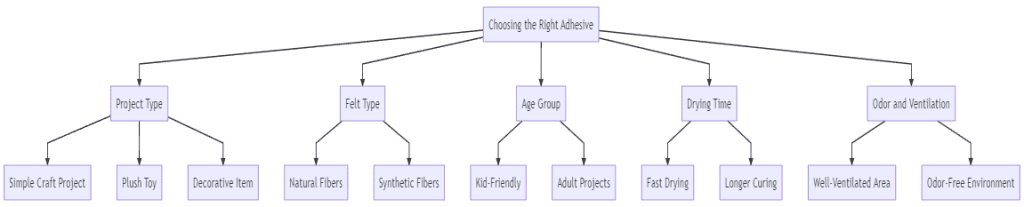
A. Project Type
Contemplate whether it’s a simple craft endeavor, a plush toy, or a decorative item. The intended use will dictate the requisite level of durability and flexibility.
B. Felt Type
Natural fibers like wool may respond differently to adhesives than synthetic fibers such as polyester or acrylic. Always test the adhesive on a small, inconspicuous area before proceeding.
C. Age Group
If the project targets children, prioritize non-toxic and kid-friendly options like tacky glue or fabric glue.
D. Drying Time
Some projects may necessitate a swifter drying time, while others can accommodate a more extended curing process.
E. Odor and Ventilation
Certain adhesives, like permanent adhesives or fabric glues, may emanate strong odors and require proper ventilation during use.
5 Trustworthy Steps for How to Glue Felt Together
Regardless of the adhesive you opt for, proper application is vital for achieving a sturdy and lasting bond when gluing felt. Here are some pointers for skillfully adhering felt together:
Step 1: Surface Preparation
Ensure the felt surfaces are clean, dry, and free from dust or debris. This will aid the adhesive in adhering properly.
Step 2: Adhesive Application
Apply a thin, even layer of adhesive to one or both surfaces, contingent upon the instructions. Avoid using too much adhesive, as it can seep through the felt and cause staining or stiffness.
Step 3: Bonding
Press the felt surfaces together firmly, ensuring even contact. For tacky glues or fabric glues, you may need to hold the pieces together for a few moments to allow the initial bond to form.
Step 4: Drying Time
Permit the adhesive to dry completely according to the manufacturer’s instructions. Avoid disturbing the bond until it has fully cured.
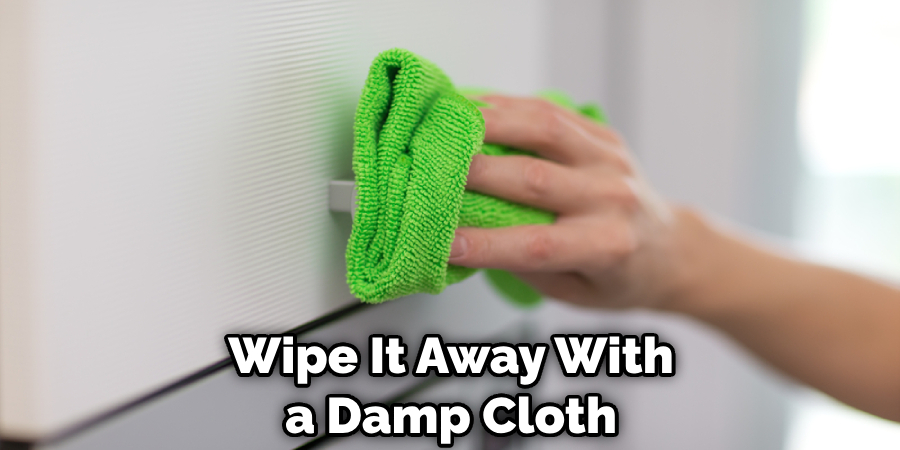
Step 5: Cleanup
If any excess adhesive seeps out, carefully wipe it away with a damp cloth or follow the manufacturer’s recommendations for cleanup.
You Can Check It Out to Glue Silicone Together.
FAQs About How to Glue Felt Together
What is the Best Glue to Use on Felt?
For working with felt, the best glues are Aleene’s Tacky Glue, low heat hot glue, E6000 or Beacon’s Quick Grip, and Aleene’s Fabric Fusion. Tacky glue provides a strong bond and dries clear, while low heat hot glue is ideal for synthetic felts to avoid melting. E6000 and Beacon’s Quick Grip offer durable bonds for more permanent projects, and Fabric Fusion is tailored for fabric and felt crafts.
Does Fabric Glue Hold Felt Together?
Yes, fabric glue can effectively hold felt together. For the best results, ensure both pieces of felt are clean and dry, apply an even layer of glue to one piece, press firmly together, and allow sufficient drying time as recommended by the glue manufacturer. Always test a small area first to ensure compatibility.
Conclusion
Skillfully gluing felt together can be a genuinely delightful experience when armed with the appropriate knowledge and techniques. By comprehending the different adhesive options and their respective strengths, you can select the optimal solution for your specific project. Remembering to always test the adhesive on a small area first and diligently follow the manufacturer’s instructions is key. With patience and meticulous attention to detail, you’ll be capable of creating beautiful and long-lasting felt projects that will bring joy to you and those around you.