Mastering the art of gluing table tennis rubbers is essential for optimal racket performance. This guide provides step-by-step instructions for how to glue rubber table tennis achieving a professional-quality application.
Key Takeaways:
- Use water-based table tennis glue
- Apply thin, even layers to both rubber and blade
- Allow proper drying time between steps
- Use a roller for smooth application
- Trim excess carefully
- Let cure for 24-48 hours before use
Watch the guide as a video:
Why Proper Gluing Matters
Gluing your table tennis rubbers correctly is crucial for the optimal performance and longevity of your racket. A well-glued rubber provides:
- Maximum spin and speed potential
- Consistent playing characteristics across the entire surface
- Secure attachment that prevents peeling or air bubbles
- Easy removal when it’s time to replace rubbers
Let’s dive into the step-by-step process for how to glue rubber table tennis like a pro.
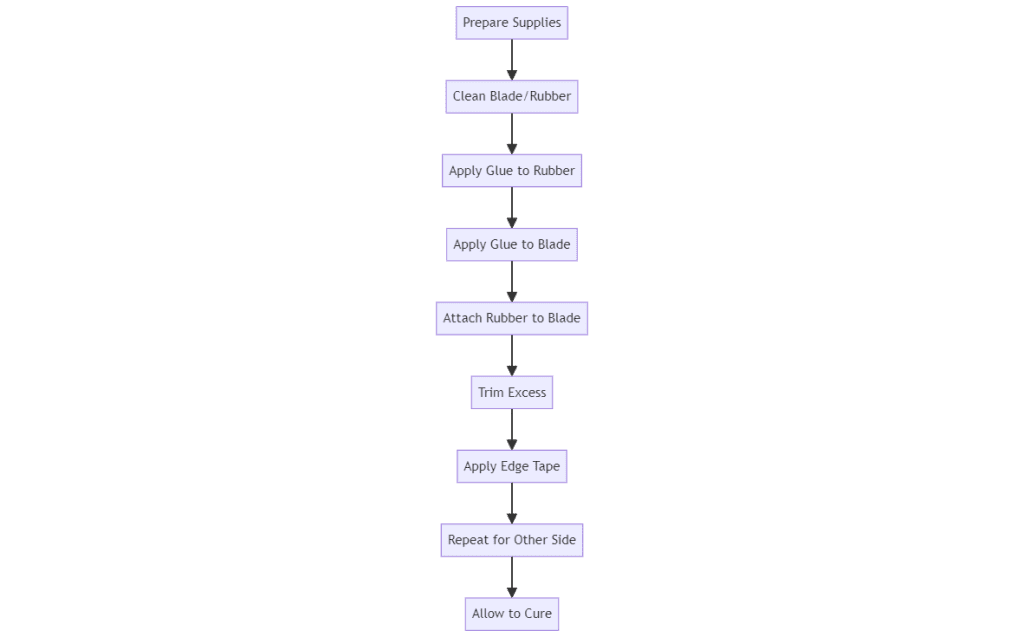
7 Actionable Steps for How to Glue Rubber Table Tennis
Here are 7 actionable steps for how to glue rubber table tennis:
Essential Supplies
Before you begin, gather these supplies:
- Water-based table tennis glue
- Glue applicator sponge or brush
- Sharp scissors or utility knife
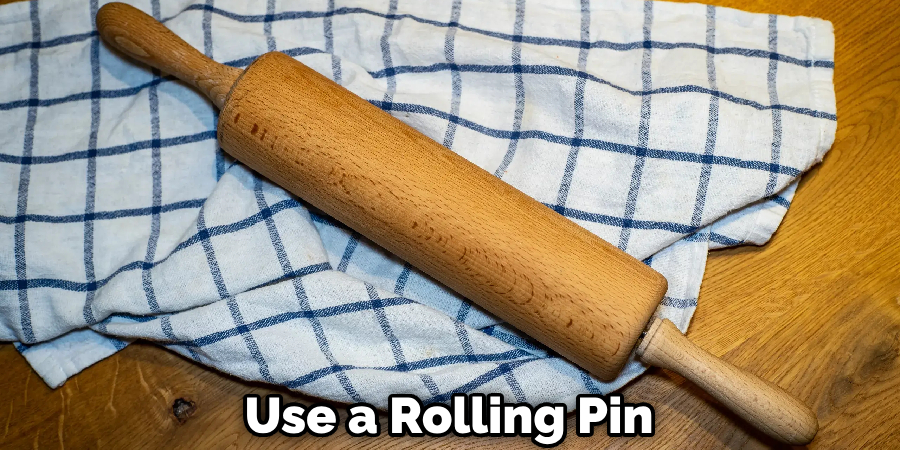
- Rolling pin or rubber roller
- Clean, flat work surface
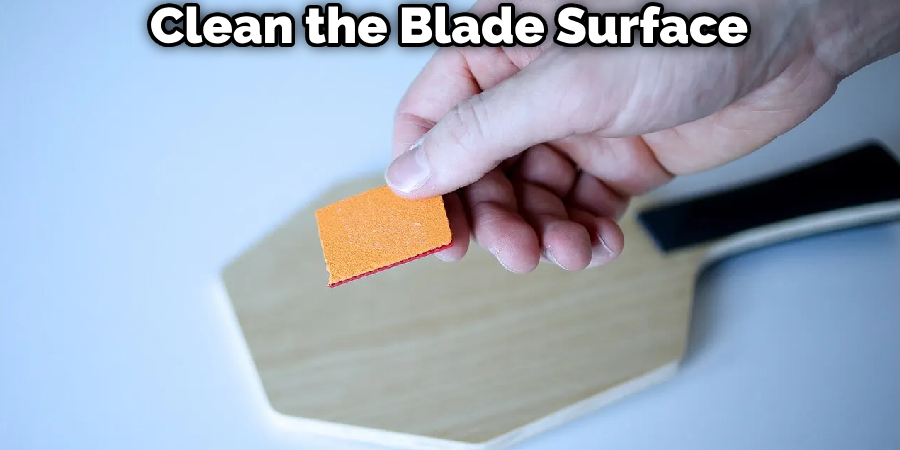
Step 1: Prepare the Blade and Rubber
If replacing old rubbers:
- Carefully peel off the old rubber, working slowly from one edge
- Remove any residual glue from the blade using your fingers or a rubber eraser
- Clean the blade surface with a slightly damp cloth and allow to dry fully
For new rubbers:
- Unpack the rubber and let it sit flat for 24 hours to release any curling
- Lightly sand the sponge side of the rubber to improve glue adhesion
Step 2: Apply Glue to the Rubber
- Place the rubber sponge-side up on your work surface
- Apply a thin, even layer of glue using the applicator sponge or brush
- Work in one direction, ensuring full coverage, especially near edges
- Allow to dry for 5-10 minutes until tacky but not wet
Pro tip: For harder sponges, apply 2-3 thin coats, allowing each to dry before the next
Step 3: Apply Glue to the Blade
- Place the blade on a flat surface
- Apply a thin, even coat of glue to one side of the blade
- Ensure full coverage, working from the center outwards
- Allow to dry for 5-10 minutes until tacky
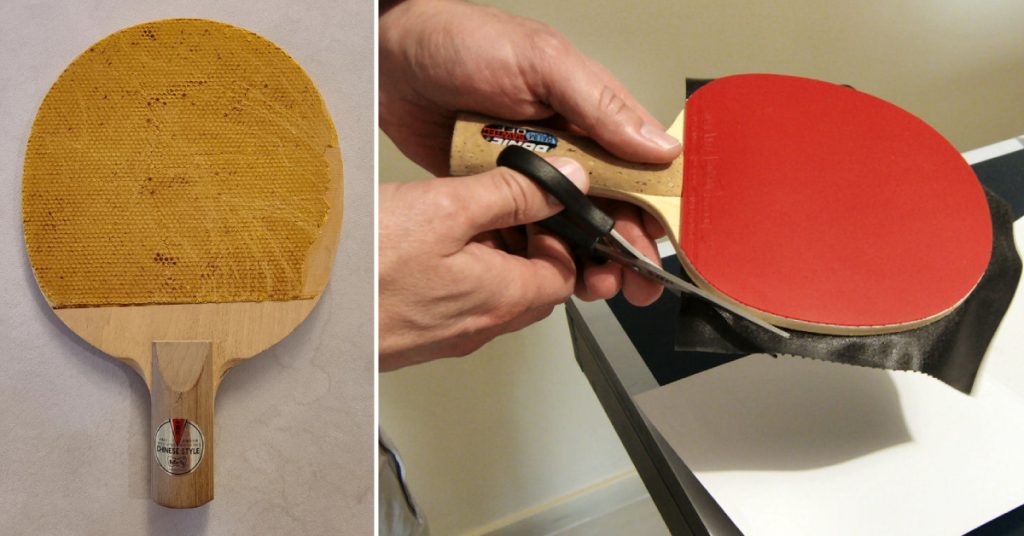
Step 4: Attach the Rubber
- Carefully align the rubber with the blade, starting at the handle
- Slowly roll the rubber onto the blade from handle to tip
- Press firmly to remove any air bubbles
- Use a rolling pin or rubber roller for even pressure across the surface
Step 5: Trim Excess Rubber
- Allow the glued rubber to set for 15-30 minutes
- Use sharp scissors or a utility knife to trim excess rubber carefully
- Follow the blade’s contour, cutting in small increments
- Be cautious not to cut into the blade edge
Step 6: Apply Edge Tape (Optional)
- Cut edge tape to length, allowing slight overlap
- Carefully apply around the blade’s perimeter
- Trim any excess tape
Step 7: Repeat for the Other Side
Follow steps 2-6 for the opposite side of the blade
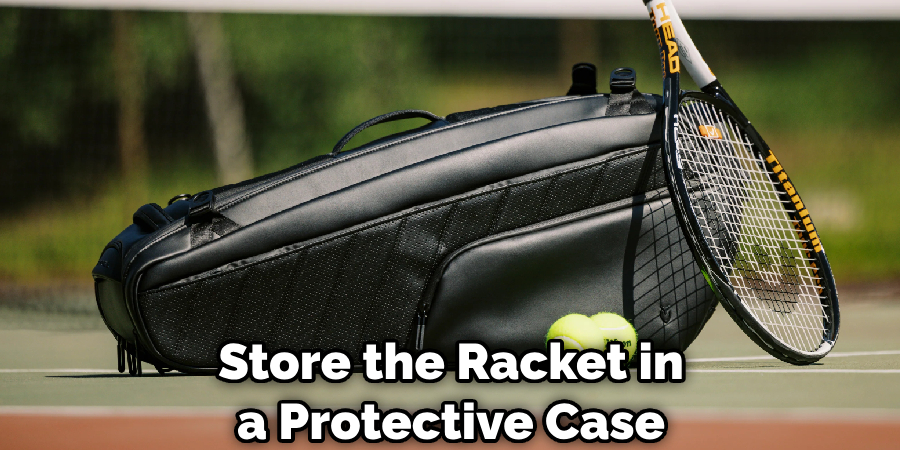
Curing and Care
- Allow your newly glued racket to cure for 24-48 hours before use
- Store the racket in a protective case away from extreme temperatures
- Clean rubber surfaces regularly with a damp cloth
Troubleshooting Common Issues
- Bubbles or unevenness: Carefully peel back the affected area, reapply glue, and press firmly
- Rubber peeling at edges: Apply a small amount of glue under the loose section and press down
- Glue dries too quickly: Work in a cooler environment and apply thinner coats
FAQs About How to Glue Rubber Table Tennis
What Glue to Use for Table Tennis Rubber?
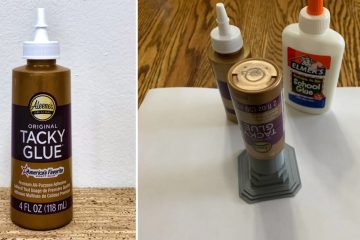
For attaching table tennis rubber to the blade, it’s best to use table tennis-specific glues like Nittaku Fine Zip, Butterfly Free Chack, or DHS 15 for a strong hold and easy removal. Alternatives include latex-based glues like Tear Mender or Copydex. Avoid using super glue or wood glue to prevent damage to the blade. Always ensure that the glue does not contain VOCs if you are playing in official competitions.
How Do I Make My Ping Pong Rubber Sticky Again?
To make your ping pong rubber sticky again, regularly clean it with water and a cloth, or mild soap for deeper cleaning, then cover it with a non-adhesive protective sheet to maintain tackiness. Occasionally apply a small amount of mineral or baby oil to restore stickiness, ensuring you leave it covered for a few days. Always store your paddle in a case to protect it from dust, dirt, and sunlight, and minimize direct hand contact with the rubber. If these methods don’t work, consider replacing the rubber for optimal performance.
How to Glue New Rubber on Table Tennis Bat?
To glue new rubber on a table tennis bat, first, ensure the blade is clean. Apply a thin layer of table tennis glue on both the blade and the sponge side of the rubber, letting each layer dry completely (use a hairdryer to speed up if needed). Carefully align and press the rubber onto the blade, using a roller to smooth out air bubbles. Trim any excess rubber with scissors or a knife, and optionally secure edges with tape. Press the bat under heavy books for a few hours to ensure a firm bond before use.
What is the Alternative to Table Tennis Glue?
For alternatives to table tennis glue, consider Copydex, known for its consistency and approximately 8 euros for a year’s supply, or Tear Mender, which is effective but can sometimes have quality issues. Industrial Velcro is an unconventional option for easy rubber attachment, though not ideal for competitive play. Butterfly Free Chack 2 offers good adhesion and easy removal, leaving minimal residue, but is pricier. Ensure any alternative is legal for competitive use and check for non-toxic, non-VOC options for safety.
Conclusion
By following these steps and best practices, you can glue your table tennis rubbers like a professional. Remember, practice makes perfect – your technique will improve with each application. Happy gluing and enjoy your newly refreshed racket!