In the realm of woodworking and metalworking, the ability to join these two vastly different materials is an invaluable skill. Whether you’re constructing furniture, crafting intricate sculptures, or embarking on a home renovation project, the need to bond wood and steel may arise. However, achieving a seamless and enduring union between these contrasting substances can be a daunting task.
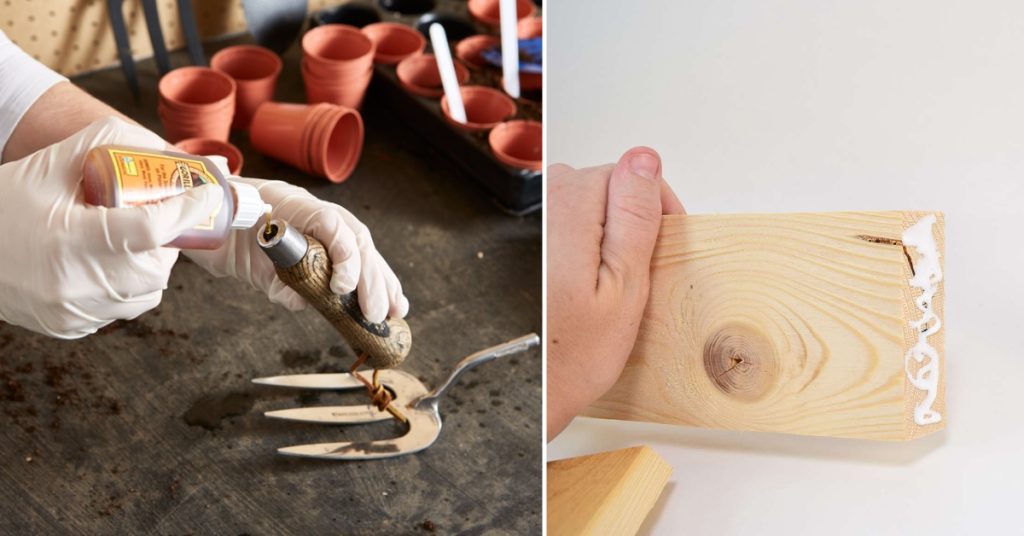
Fear not, for we have meticulously compiled a comprehensive guide to help you navigate the intricacies of how to glue wood to steel. Prepare to unlock the secrets of a bond so strong, it will withstand the test of time and the whims of nature.
Key Takeaways:
- Understand the unique characteristics of wood and steel to achieve a strong bond.
- Choose the right adhesive for your project, from construction adhesives to epoxies.
- Proper surface preparation and application techniques are crucial for a lasting bond.
- Maintain and protect bonded surfaces to ensure long-term durability.
Understanding the Dynamic Duo
Before we delve into the nitty-gritty of adhesives and application techniques, it’s crucial to understand the unique characteristics of our dynamic duo: wood and steel.
The Wooden Warrior
Wood, a natural and porous material, is renowned for its warmth and beauty. However, it’s also a living entity that expands and contracts with fluctuations in humidity and temperature. This unpredictable nature can pose challenges when bonding it to a more rigid material like steel.
The Steel Sentinel
Steel, on the other hand, is a non-porous, robust, and durable material that excels in its resistance to environmental elements. However, its thermal expansion rate differs from that of wood, creating the potential for bond failure if not properly addressed.
3 Expert Steps for How to Glue Wood to Steel
Here are three expert steps to ensure a strong and lasting bond between wood and steel:
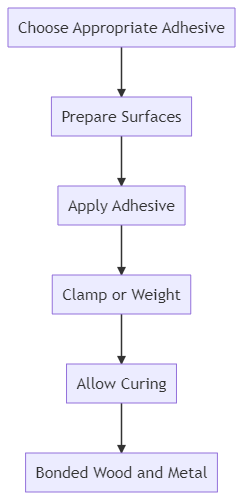
Step 1: Choosing the Adhesive Ally
The adhesive you choose will be the key to forging an unbreakable bond between wood and steel. Each adhesive offers unique strengths and limitations, making it essential to select the right one for your specific project.
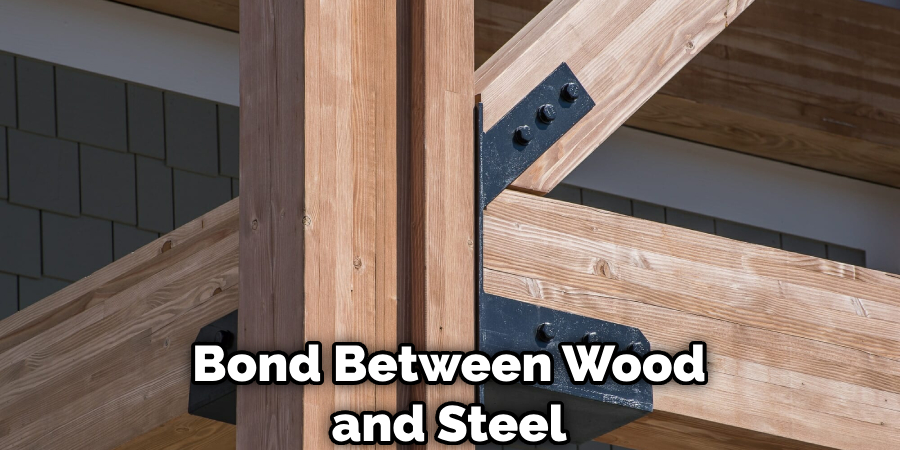
Construction Adhesives: The Flexible Workhorses
Construction adhesives, such as polyurethane-based adhesives like Loctite PL Premium or Gorilla Construction Adhesive, are versatile workhorses that can handle a wide range of materials, including wood and steel. Their flexibility and moisture resistance makes them ideal for projects that may face environmental challenges, such as outdoor installations or high-humidity areas.
Epoxy Adhesives: The Gap-Filling Powerhouses
When it comes to gap-filling and exceptional adhesion strength, epoxy adhesives like JB Weld or Devcon Plastic Steel Putty reign supreme. These two-part adhesives create a rigid bond that can withstand immense stress and temperature fluctuations, making them perfect for load-bearing applications or projects that demand unwavering durability.
Contact Adhesives: The Seamless Sealers
For projects that require a seamless, invisible bond, contact adhesives like 3M Super 77 or DAP Weldwood can be your go-to choice. These adhesives form an instant bond upon contact, ensuring a tight fit between wood and steel surfaces. However, their limited flexibility and moisture resistance should be considered for certain applications.
Specialty Adhesives: The Tailored Solutions
In some cases, your project may demand a more specialized adhesive solution. Marine-grade adhesives like 3M 5200 or Sikaflex are designed to withstand harsh environments and corrosive conditions, making them ideal for outdoor projects or applications involving water exposure. Similarly, flexible adhesives like Sika EBT or rubber-based adhesives can accommodate the expansion and contraction of wood and steel, minimizing the risk of bond failure.
Step 2: Preparing the Surfaces: The Foundation of Success
Proper surface preparation is the foundation upon which a strong and lasting bond is built. Neglecting this crucial step can lead to disastrous consequences, leaving you with a failing adhesive and a project in shambles.
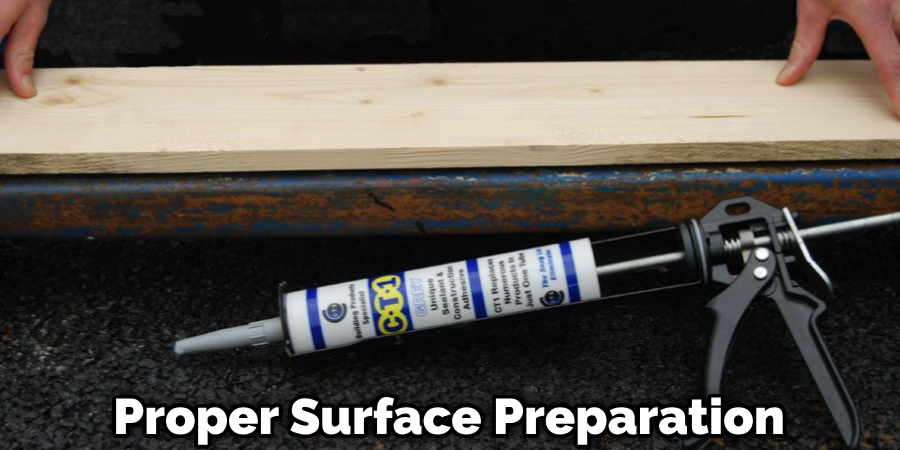
The Wooden Warrior’s Grooming
Before applying any adhesive to wood, it’s essential to ensure a clean and roughened surface. Degreasing and sanding the wood will create a texture that allows the adhesive to grip and form a secure bond. Additionally, removing any existing finishes or coatings is crucial, as they can interfere with the adhesion process.
The Steel Sentinel’s Polishing
Steel surfaces also require meticulous preparation. Degreasing and cleaning are the first steps, followed by roughening or abrading the surface to create a profile for the adhesive to adhere. It must be removed to ensure a strong and durable bond if rust or corrosion is present.
Step 3: Application Techniques: The Art of Bonding
With your surfaces primed and your adhesive ally chosen, it’s time to delve into the art of application. Here, precision and attention to detail are paramount, as even the slightest misstep can compromise the integrity of your bond.
- Applying the Adhesive: Follow the manufacturer’s instructions carefully, ensuring that you apply the adhesive evenly and in the recommended amount. Proper mixing is crucial to achieving the desired chemical reaction and optimal bond strength for two-part adhesives like epoxies.
- Spreading and Clamping: Once the adhesive is applied, use a putty knife or trowel to spread it evenly across the surfaces to be bonded. Clamping or weighting the materials together during the curing process is often necessary to ensure a tight, secure bond.
- Allowing Proper Curing: Patience is a virtue when it comes to adhesive curing. Each adhesive has a recommended curing time, and rushing the process can lead to a weakened bond. Follow the manufacturer’s guidelines and allow the adhesive to reach its full strength before subjecting the bond to any stress or environmental conditions.
You Can Check It Out to Remove Spray Adhesive From Wood.
Tips and Tricks: Mastering the Finer Details
Like any art form, gluing wood to steel has its nuances and tricks of the trade. Here are a few tips to help you elevate your bonding skills to new heights:
- Dealing with Gaps: If gaps or uneven surfaces are present between the wood and steel, consider using an adhesive with excellent gap-filling capabilities, such as an epoxy or a high-viscosity construction adhesive.
- Primers and Sealants: Some adhesives may recommend the use of primers or sealants to enhance adhesion or protect the materials from environmental factors. Follow these recommendations to ensure optimal performance.
- Temporary Support: For larger projects or applications where the bond will be subjected to significant stress, consider using temporary supports or bracing to reinforce the bond during the curing process.
- Protecting Surroundings: Adhesive spills and drips can be unsightly and difficult to remove. Protect surrounding areas with tape, plastic sheeting, or other barriers to keep your workspace tidy and your project pristine.
You Can Check It Out to Glue Wood to Fiberglass.
Troubleshooting and Maintenance: Keeping Your Bond Strong
Even the most meticulously executed bond may encounter challenges over time. Environmental factors, stress, and wear can all contribute to potential issues. However, with the right knowledge and proactive maintenance, you can ensure that your wood-to-steel bond remains as strong as the day it was forged.
- Poor Adhesion or Bond Failure: If you notice signs of poor adhesion or bond failure, investigate the root cause. Was the surface preparation adequate? Was the correct adhesive used? Did the cure time meet the manufacturer’s recommendations? Addressing these factors can help you rectify the issue or prevent future occurrences.
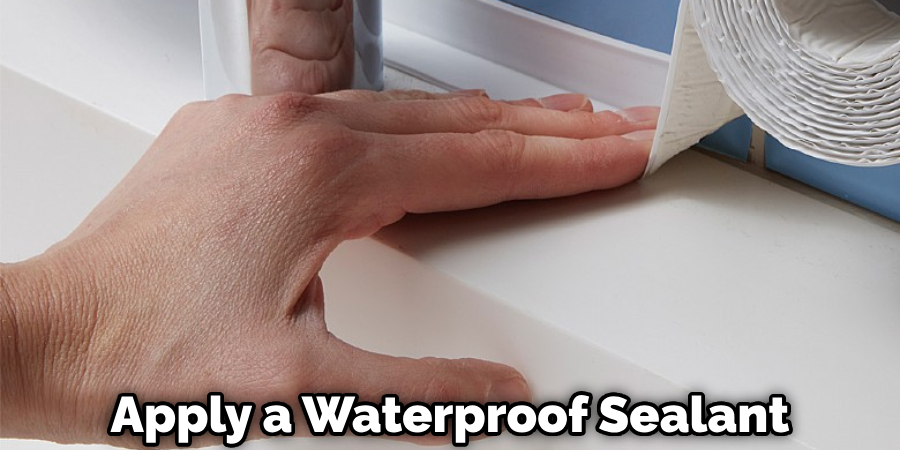
- Moisture Ingress: For projects exposed to moisture or outdoor elements, keeping an eye out for water ingress or delamination is crucial. If detected early, you may be able to apply a waterproof sealant or reinforcement to prevent further damage.
- Repairing or Reinforcing Existing Bonds: In some cases, repairing or reinforcing an existing bond may be necessary. This can involve cleaning and roughening the surfaces, applying a fresh layer of adhesive, and clamping or weighting the materials together until the new bond has fully cured.
- Maintaining and Protecting Bonded Surfaces: Regular cleaning and inspection of bonded surfaces can help identify potential issues before they become major problems. Additionally, applying protective coatings or finishes can further extend the life of your wood-to-steel bond by shielding it from environmental factors.
You Can Check It Out to Glue Mirror to Wood.
FAQs About How to Glue Wood to Steel
What is the Best Glue to Stick Wood to Metal?
When bonding wood to metal, consider using reactive PUR adhesive for stainless steel to plywood, epoxy for wood veneers to brass or steel, construction adhesive like PL400, or polyurethane glue for wood veneer over steel. Proper surface preparation, including cleaning the metal surface and roughening it for better adhesion, is crucial. The choice of adhesive depends on the specific application, the type of wood and metal, and the desired finish.
How Do I Attach Wood to Metal?
When attaching wood to metal, consider using lag bolts, self-drilling screws, or powder-actuated nails for a secure connection. Pre-drilling may be necessary for lag bolts, while the choice of fastener material should account for factors such as corrosion resistance and strength. Proper fastener placement, installation tools, and consideration of project-specific requirements such as timber type are crucial for a successful attachment. Always adhere to the recommendations provided by the panel supplier or engineer for optimal results.
Can Wood Stick to Steel?
Yes, wood can stick to steel using adhesives, screws, bolts, or welding, depending on the specific application and requirements.
Will JB Weld Glue Wood to Metal?
Definitely! Although JB Weld isn’t specifically designed for this task, it’s surprisingly versatile. Just make sure to prep your surfaces right and apply it carefully. For those critical projects, you might want to check out some specialized epoxy options and do a bit of testing to be sure JB Weld’s up to the job. But hey, when it comes to strong bonds between wood and metal, JB Weld’s got your back!
Conclusion: Embracing the Endless Possibilities
By mastering the art of gluing wood to steel, you unlock a world of creative possibilities. From sculptural masterpieces to functional furniture, the ability to seamlessly blend these contrasting materials opens up a tapestry of design and craftsmanship.
Remember, the key to success lies in understanding the materials, selecting the right adhesive, meticulously preparing the surfaces, and executing the application with precision. Embrace the journey, for every bond you forge is a testament to your skill and dedication.
So, whether you’re a seasoned woodworker, a metalsmith, or a DIY enthusiast, fear not the challenge of joining wood and steel. With this comprehensive guide as your compass, you can confidently navigate the intricacies and forge bonds that will stand the test of time.

